The Great British Leaf-Off.
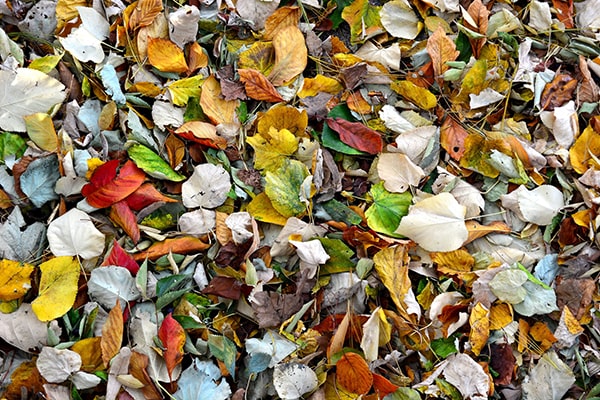
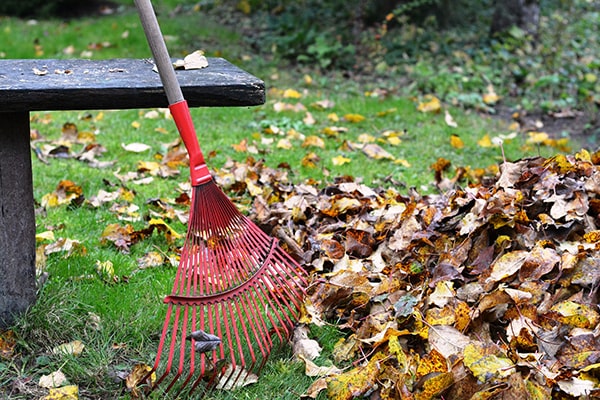
Leaves come in all shapes, sizes, colour and texture and, come autumn, many are realising they have done their job for the year and are beginning to fall.
Job done? Partially. Nature is generous and each and every leaf is important, and indeed vital, to gardeners.
What is Leafmould?

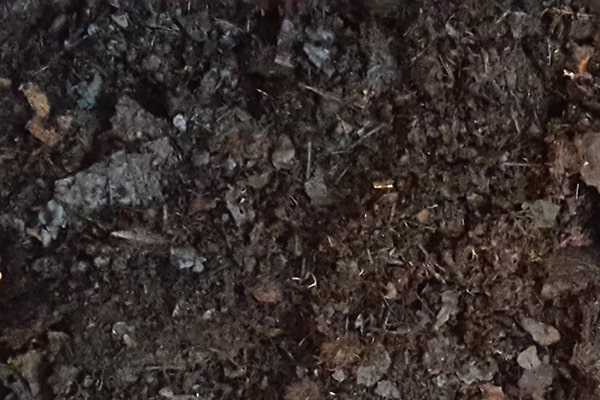
Every leaf can rot down to produce something mysteriously and enigmatically referred to as leafmould. It's not the most glamorous of names, but you won’t get better for garden.
The basics for successful leafmould are healthy leaves, water and air. It is the smallest of gardening tricks to get raging success.
Leafmould is the actual fibre of soils. It encourages bacteria and fungi to thrive and that results in a healthy soil. After all, in nature, in woodlands, leaves fall, rot down and nourish the soil.
And the great thing is that, by making your own leafmould, you are keeping and encouraging your own local populations of microorganisms in your garden. Keeping it local is a great idea when it comes to nature.
Collecting leaves and making leafmould is a basic way to speed up this natural process.
There are a couple of points worth considering before launching head long into the marvellous work of leafmould:
- Only collect healthy leaves. Diseased leaves should be sent to your council for compostin where their systems are hot enough to kill nasty spores.
- Avoid street leaves as they could contain chemicals used by councils.
- Keep plenty of sacks (old compost sacks, rubble sacks) handy as there are a lot of leaves to collect.
Making Leafmould

- Collect a bag full of leaves into a sack.
- Sprinkle with water.
- Pierce holes in the sack.
- Tie the top and put the whole lot in a quiet place of the garden.
- Every month give the sacks a shake. This mixes the contents and ensures excess water drains and air gets in through the holes.
- Wait six months.
No sacks? No problem!
Construct a metre cube using strong stakes and chicken wire. Fill this space up with leaves as you collect them - sprinkling water on to ensure the whole mix isn’t too dry.
Flick the contents around every fortnight to prevent thick layers of leaves that would otherwise prevent air getting into the mix (it does sound like Bake Off!).
When the cube is full, place a piece of plastic or old carpet on the top. This will stop rain soaking the mix and will stop leaves blowing around in the autumn gales and winter storms.
Ding! Six months later and it is ready!

A quick, easy and fantastic use is as a soil improver. Dig it in (or flick it into the soil surface if you aren't digging the soil in your beds and borders). Mixed into the surface it will ensure your garden soil will be healthy.
Leaf mould can be added to otherwise sterile potting composts. The population of microorganisms ensure your plants roots come into contact with the good guys before being planted out. And once that happens the almost mystical relationships between roots and microorganisms occurs and the future is rosy (or vegetably, chrysanthemumy, dahliay or whatever plants you grow.
Top Tips for Leafmould Making
Top tip: pick the fallen leaves from the surface of ponds and from the crowns of plants. This fills your leafy sacks and pens. plus stops rotting happening in the wrong places (ponds and crowns)
Top tip: Make the process of rotting leaves quicker by cutting up larger, tougher leaves with garden shears.
Top tip: Put different types of leaves in the same sack. This ensures a wide range of different fungi and bacteria = better rotting!
Enjoy collecting your leaves with brand new purpose!


