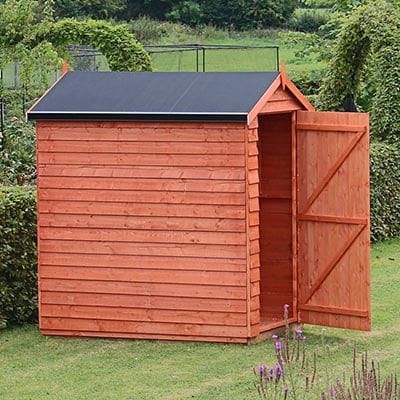
![Complete Guide to Shed Roof Felting and Replacement [UPDATED]](https://www.shedstore.co.uk/media/magefan_blog/main-image2.jpg)
In this comprehensive guide, we walk you through the step-by-step process of installing or replacing shed roof felt, ensuring a weatherproof and durable covering for your shed. Whether you are a seasoned DIY enthusiast or a first-time shed owner, our expert instructions and valuable tips will help you achieve professional results and protect your shed from the elements for years to come.
Here we provide instructions on shed roof felting and a link to our YouTube video demonstration.
Editor’s Note [21.08.23]: Our guide was originally published on January 05, 2017. We know this very popular post has been a useful source of information for those seeking advice and support on shed roof felting, so we’ve decided to give our 2017 a “2023 refresh”. With additional information on preparing for the installation, tips for replacing shed roof felt, common mistakes to avoid, and maintenance advice, you’ll find everything you need to install and maintain your new shed roofing.
Preparing for the Installation
Before you begin installing shed roof felting, it is essential to prepare adequately for the project. Start by assessing the existing roof condition, ensuring it is free from any damage or defects that may affect the felting process. Shed roof felt replacement involves changing the entire felt.
Next, gather all the necessary tools and materials needed for the installation (see our section below). By carefully evaluating the roof condition and gathering the right tools and materials, you can lay the groundwork for a successful and long-lasting shed roof felting project. Proper preparation ensures the felting adheres securely to the roof, providing reliable protection against the elements of your shed.
Instructions: shed roof felt replacement and installation
Fortunately protecting the items in your shed is easy. You don’t need any specialised tools or a lot of time. The entire project can be completed quickly; a small shed will most likely be completed in about an hour.
The project can be easily done by yourself, but obviously will be easier and faster if you have a helper.
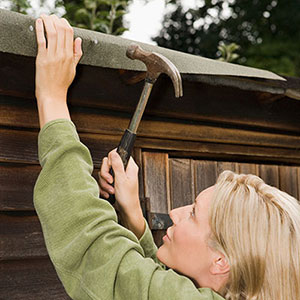

Tools and materials
Having all the items ready and organised beforehand will make the installation process smoother and more efficient:
- A hammer (a claw hammer is best; this helps to remove nails from old felting)
- Step ladder or scaffold tower
- A level, which can double as a straight edge
- Craft knife (also called utility knife or roofing knife)
- A tape measure
- A chalk line (a tool used to create straight and level guidelines on the roof surface)
- Roofing tacks (Don’t use other types of nails or tacks as they will often allow water to seep through)
- Barge boards (Be sure that they are at least the same width as the shed’s eaves, a few cm wider is ok as well)
- Shed roof felting
- Underlay or base layer
- Felt adhesive or sealant
- Safety equipment – including safety gloves, safety glasses or goggles and a dust mask
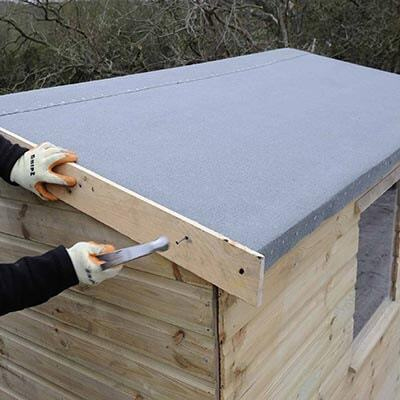

To determine the amount of roofing felt you need, measure the roof to determine the square meters and add about 25%.
Installing your roof felt
Once you have your tools and materials ready, the rest is simple.
- Clean and prepare the roof - ensure the roof surface is clean and free from debris before starting the installation. Remove any old felting material, nails, or dirt to create a smooth and even surface.
- It is essential to use an underlay or base layer when installing shed roof felt. The underlay or base layer provides an additional protective barrier between the roof surface and the felt, enhancing its waterproofing capabilities, and increasing its durability. It also helps to prevent condensation and improve the shed's overall insulation, ensuring better long-term performance and weather resistance
- Cut the roofing felt into the lengths you need to cover the roof from front to back. Cut the felt about 10cm longer than the length of the shed.
- Place the first piece at one edge and tack the front and back. You want about a 40mm overlap at the eaves.
- Work your way up the panel to the apex of your shed’s roof. Be sure that adjacent pieces overlap by about 20cm. This prevents water from seeping between the two pieces of felt. If you can cover each panel with a single piece of felt, you still want to have a piece that goes across the apex and overlaps each side.
- Once you have all of the pieces in place, it is time to tack them down. Space the tacks about 150mm apart along the edges and across any areas where the felt overlaps.
- Fold the felt along the edges of the shed and tack them in place. You want to eliminate any areas where water can seep in.
- For the apex piece, you will want to cut a slit and fold the piece under and secure it with tacks.
- Take the barge boards and cover the edges on all sides. You should use standard nails for this part of the project. If your barge boards are slightly wider than the eaves, make sure they are flush along the upper edge.
- Now take your craft knife and carefully cut away any excess felt. You want your felt to be nice and tight. Excess felt not only spoils the look of the shed but can eventually cause damage to the felt’s integrity.
That’s it. All that is left is to put away your tools, secure in the knowledge that the items in your shed are protected from all of the elements.
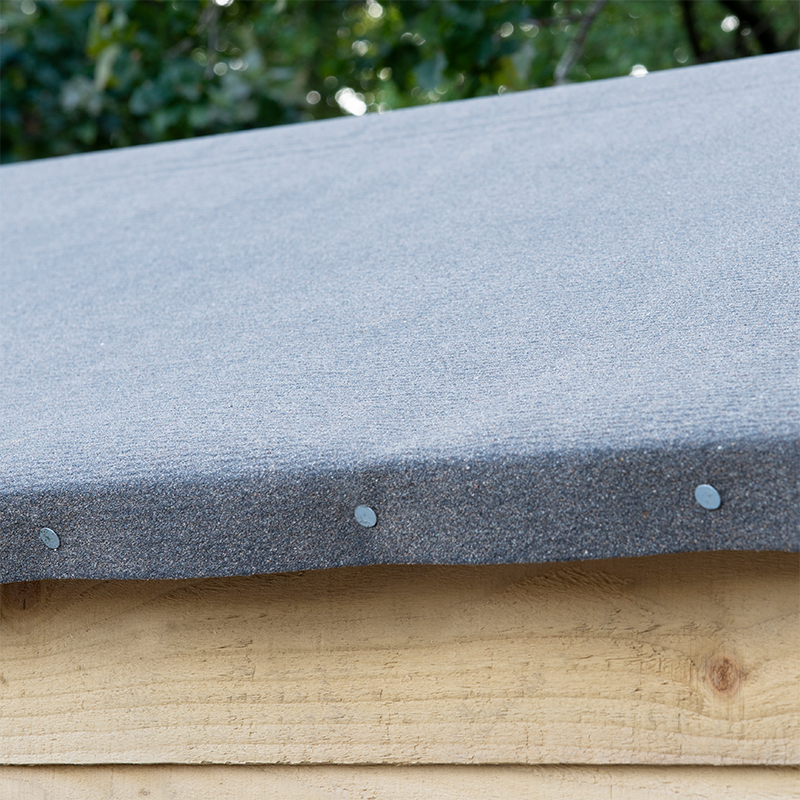

Best tips and practices for replacing shed roof felt
Following these best tips and practices to install felt, which will endure for many years:
- Clean and prepare the roof – this ensures there is an even surface
- Properly overlap and seal - ensure each layer of felt is overlapping the previous one by at least 2 inches to create a watertight seal. Use adhesive or sealant at the edges and overlaps to prevent water from seeping underneath
- Safety precautions - when installing felt on a shed roof, always prioritise safety. Use proper safety gear, such as gloves and safety glasses, to protect yourself from any sharp objects or adhesives. Additionally, ensure you work on a stable and secure surface and avoid installation during adverse weather conditions to prevent accidents and injuries
- Secure the felting - use appropriate roofing nails to secure the felt to the roof, following manufacturer guidelines. Properly nail down the felting to prevent it from lifting or shifting during harsh weather conditions
- Trim with precision - use a sharp utility knife to trim the edges of the felt neatly and accurately. Proper trimming ensures a clean and professional finish, reducing the risk of potential damage caused by loose or frayed edges
- Use quality materials - invest in high-quality shed felt and underlay or base layer. Quality materials provide better durability and weather resistance, ensuring long-lasting protection for your shed
- Work in dry conditions – it is essential to install shed roof felt in dry weather conditions. Wet or damp surfaces can compromise the adhesive and affect the felting's effectiveness
Video demonstration
For a video guide on how to felt a shed roof then please click on the YouTube link below.
Common mistakes to avoid when replacing shed roof felt
Making mistakes during garden shed roof felting can lead to costly repairs and compromised protection. Learn from these common errors to ensure the job of replacing shed roof felt work goes perfectly.
1) Insufficient preparation
One of the most significant mistakes is insufficiently preparing the roof surface. Failing to clean, repair, and smooth the surface can result in poor adhesion and leaks.
2) Wrong felting material uses
Using the wrong type of felting material for your shed can lead to inefficiency and inadequate weatherproofing. Ensure you choose the appropriate felting material based on the shed's size, location, and climate.
3) Failure to overlap or seal
Ignoring proper overlapping and sealing can leave vulnerable gaps in the roof, allowing water to penetrate. Be diligent in ensuring that all edges are adequately overlapped and sealed to create a watertight seal.
Maintenance and longevity
To ensure the longevity of your shed roof felt replacement, regular inspections and proactive upkeep are vital. Conduct routine inspections to check for any signs of wear, tears, or damage on the felt surface. Address any issues promptly, such as applying patch repairs or resealing any exposed edges or overlaps. By staying vigilant and maintaining your shed roof in good condition, you can extend its lifespan and preserve the integrity of your shed.
An alternative to consider
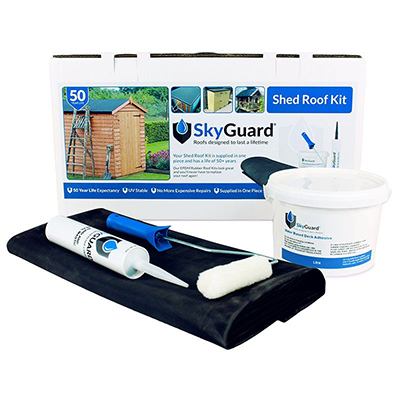
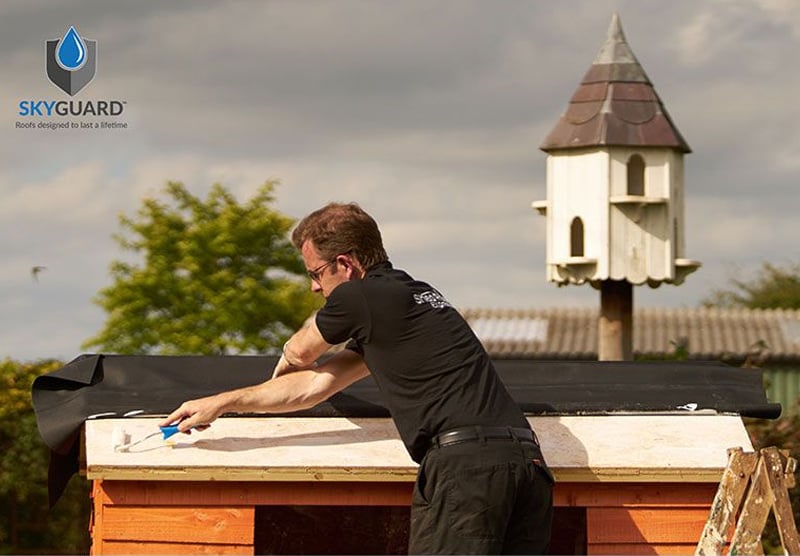
A new innovation in shed roof protection means you can cover your roof once and forget about it for 20-50 years. No wind-torn felt, no ripped sections, no more hassle. SkyGuard is an EPDM roof membrane that is easy to apply and has an expected lifespan of 50 years. It is UV stable and guaranteed for 20 years. It is easy to install without the need for endless tacks and is available in an extensive range of sizes. Click here or on the image below for more product information.
Conclusion
In conclusion, shed roof felt replacement and correct installation during the initial build is a crucial process to ensure your shed remains protected from the elements and maintains its longevity. We have covered the key steps from proper surface preparation to precise installation and the importance of using quality materials. Achieving professional results in your shed roof felt replacement guarantees a weatherproof and durable covering, providing peace of mind and safeguarding your garden shed for years to come.

Contact us
If you are looking to buy shed roof felt replacement, we can help! We have a wide choice of EPDM available, and our team is always available to answer your questions. Contact Shedstore in these ways:
- Phone calls - 0333 003 0518
- E-mails – these can be sent using our contact page form
- Text chats - using the live chat app


