Shed Insulation
Are you considering how to insulate a shed but are unsure where to begin? Explore our comprehensive guide to shed insulation, offering all the top tips you need to get started on effectively weatherproofing and optimising your shed's energy efficiency.
Editor’s Note [25.09.23]: Our guide about how to insulate a shed was originally published on February 18, 2015. In this update, we have added information about thermal insulation, tips for weatherproofing, as well as numerous updates to existing sections.
Is It Possible to Insulate a Shed?
When it comes to insulating a shed, it is important to understand that not all sheds are ideally suited for insulation. Metal shed insulation and small plastic shed insulation are more difficult. This is because it tends to not have a construction that lends well to shed insulating, at least not via the process that will be discussed below. Although, it is worth mentioning that metal sheds provide improved thermal insulation.
It may be advisable to change the shed to a more robust type that can accept shed insulation. Generally, any type of standard wooden shed can accept the insulation needed to help it retain heat better in the months of colder weather. It is important to add a vapour barrier, which acts as a shield. This prevents water vapour from seeping into the insulation and potentially causing mould or rot.

About Thermal Insulation
Thermal insulation in sheds refers to the process of adding materials and barriers to the structure to prevent the transfer of heat between the interior and exterior environments. This insulation aims to create a more temperature-stable and energy-efficient space by minimising heat loss during colder months and heat gain during warmer months.
What Are the Reasons for Insulating a Shed?
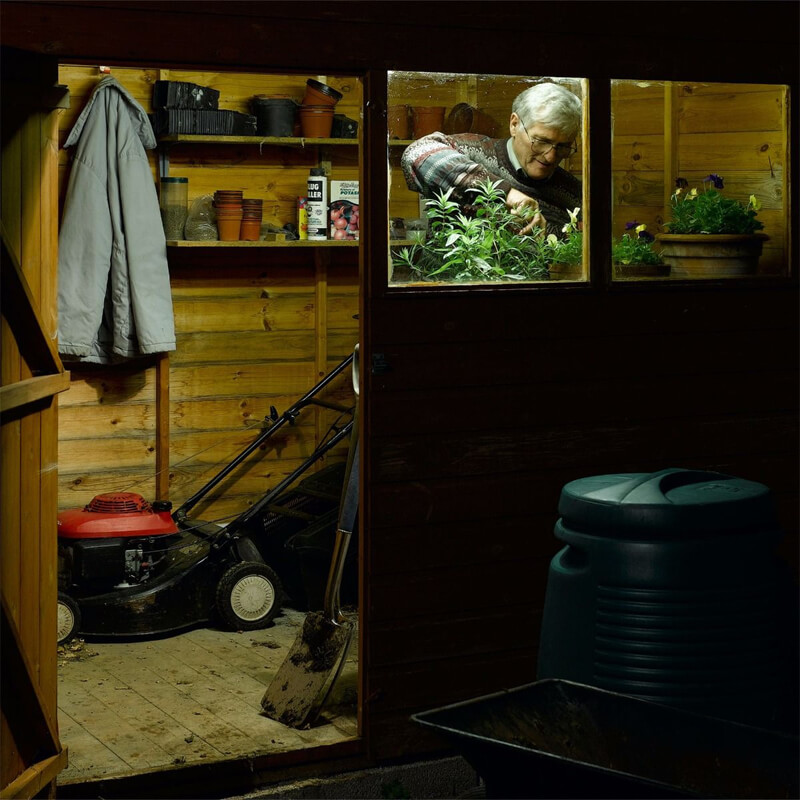
Many people in the UK spend a lot of time in their gardens and using their garden sheds; so, considering the addition of some insulation to a wooden shed will help keep the warmth in and extend the time the shed can be utilised. As you insulate your shed, it will help reduce damage to the stored equipment, tools, and boxes as well as allow for plant storage and even use of the shed as a workshop or other type of recreational room.
What Is Involved in Insulating a Garden Shed?
The proper insulation of a shed requires the sealing of gaps, installation of insulation boards or sheets of insulation, and even the possibility of drywall installation. Before deciding the type of shed insulation to utilise, consideration should be given to the different areas of the shed that will need insulation: the walls, the floor, and the doors or windows. Each of these components requires specific demands. The following guide will help sort out these requirements.
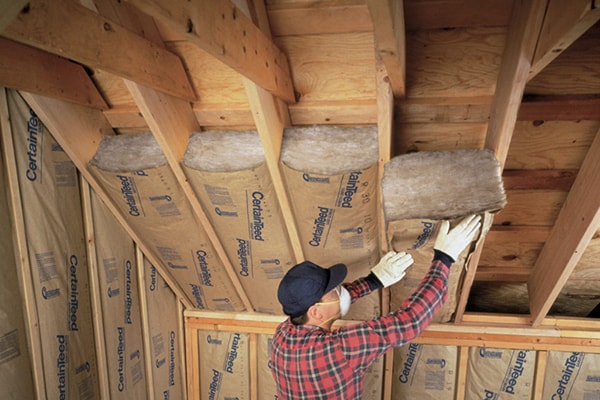

How to Insulate a Shed:
Creating a well-insulated shed and weatherproof shed requires a multifaceted approach that encompasses sealing, insulation selection, and installation. Below we itemise the essential steps to enhance your shed's energy efficiency and overall functionality. From sealing the structure to choosing the right insulation type and mastering the installation process, these sections provide a comprehensive roadmap for achieving a comfortable and well-protected shed space.
Seal the Structure
Ensuring your shed is well-insulated involves addressing various aspects beyond its walls. Below we explore elements for sealing the structure such as windows, roofs, walls, floors, and doors:
- Windows:insulating a shed on the shed walls will do little good if there are breaks or gaps in the windows. The first step is to replace broken windows. Check seals and replace them if necessary. Consider installing double glazed windows if the garden shed will be utilised as additional living space. Single glazed windows allow a lot more heat loss than double glazed windows do. A DIY option is to attach a sheet of Perspex over the windows on the inside of the shed; of course, this won't work with opening windows.
- Roof: Check to see if there are any leaks in the shed by examining it during rainfall. Instead of rain, use a garden hose and spray it over the shed roof and then examine for signs of leakage. Look for dark stains to identify potential water leaks. Sealants can be used to patch thin gaps, while larger holes can be sealed with expandable spray foam. Make sure the roof felt is intact, replacing or securing any torn felt.
- Walls: Fix gaps with sealant or foam. If there are a large number of gaps, consider adding siding to the shed. When a barrier is established between the outside and holes are filled, the temperature inside the shed will remain more constant
- Floor: Fill any obvious gaps in the shed floor insulation. You can also lay a waterproof membrane and then tack old carpet to insulate a shed floor. Ask family and friends to let you know if they are getting rid of old carpets or buy cut-offs from carpet stores.
- Door: As with the walls, fill gaps with sealant or spray foam insulation. Check the shed door is hanging securely. Add seals over the hinged edge if necessary.
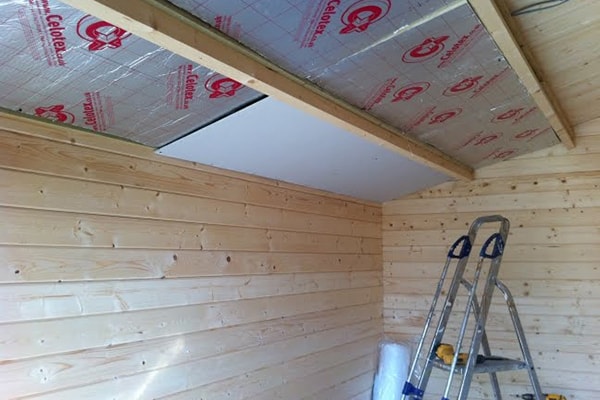

Choose The Type of Garden Building Insulation That Will Work Best
Selecting the appropriate type of insulation is a critical decision to ensure effective temperature regulation and energy efficiency. Below we provide insights on various insulation options, tailored to different shed structures, and needs:
- The first step is to measure the space between the studs to determine the width of batting or sheets that will be needed for the shed insulation.
- If the studs are 45.7 to 61.0 cm (18 to 24 inches) apart blanket or batting insulation will work well. Since these are standard wall sizes the shed insulation can simply be rolled out and secured between the studs, beams, and joists.
- If the distance between the studs is not a standard wall width, but the width does occur in regular intervals, then choose foam insulation board or polystyrene sheets. This type of shed insulation works well despite it being a fairly thin layer. However, if the shed has a large number of electrical outlets, insulating your shed this way is not recommended.
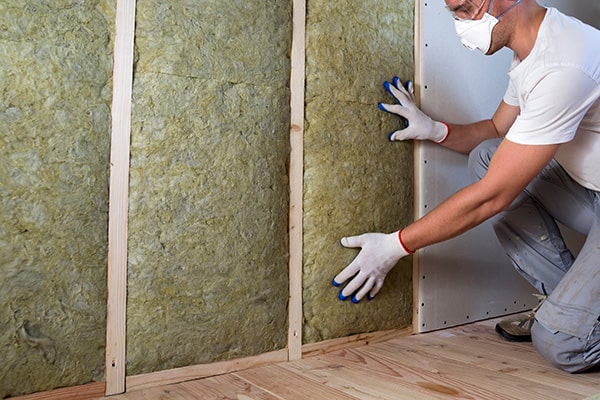
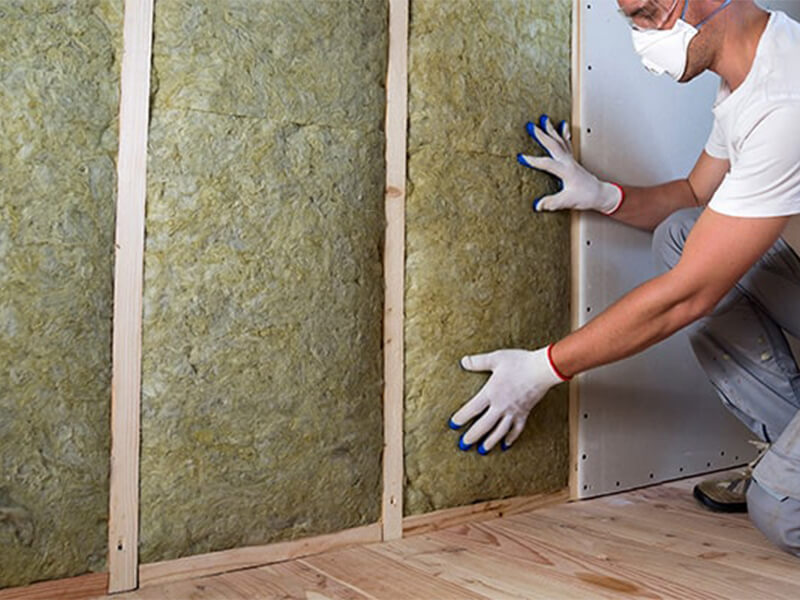
- If the insulation needs to withstand extreme temperatures, choose mineral wool insulation. A similar option to this is fiberglass insulation, but it must be covered because it is harmful to humans; always use a facemask, gloves, and protective clothing when fitting and covering the mineral wool insulation. Similarly, a full gas mask should be used with the fitting of mineral wool insulation.
- The previous options are for shed walls that may be unfinished. For walls that are already finished choose foam, loose fill, or spray insulation. Holes can be cut into the walls for the shed insulation to be blown into the frame.
- A DIY option is reflective foil-faced insulation, which is flexible and can be bent around obstructions or corners. Bubble wrap is another great DIY option; you can even purchase foil-backed bubble wrap which works by trapping the heat via the air bubbles. Bubble wrap can be attached to the walls and roof with a staple gun or a hammer and nails.
- Always confirm the fire safety of any material you choose to use.
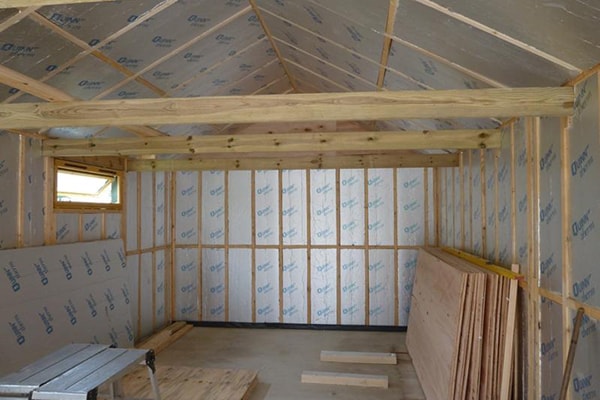

Install the shed insulation
Once you have chosen the right type of insulation for your shed, the installation process is a crucial step in optimising its energy efficiency. Install insulation using the following steps, which will guide you through the proper installation techniques to insulate your shed:
- For foam or blown-in shed insulation, it is best to hire a professional contractor because some of these installation methods require special equipment.
- Shed measurements can be taken into the local home improvement store for advice from the professionals; they will be able to advise on the amount of shed insulation to purchase to cover the shed. The stud spacing measurements should be part of the overall measurements needed.
- Foil or batting sheets should be rolled out horizontally and the polystyrene should be set against the frame.
- Use a staple gun to attach the batting or foil sheets. They should be stapled to the studs. Polystyrene sheets should be glued onto the studs and walls with a special adhesive.
- Where the sheets meet, they should overlap, continually moving up the shed wall in horizontal sheets. Cut small sections of insulation boards and insulation sheets with scissors.
- Both the walls and the ceiling should be insulated, but the insulation on the ceiling should have a two-inch gap between it and the top of the ceiling to let moisture escape.
- Finally, the sheets can be covered with drywall to give the interior of the shed an attractive and finished appearance. Drywall should be applied to the ceiling first and then insulate shed
Other Tips to Weatherproof a Shed
Enhancing your shed's durability against the elements goes beyond insulation. Here are twenty non-insulation-related tips to effectively weatherproof a shed:
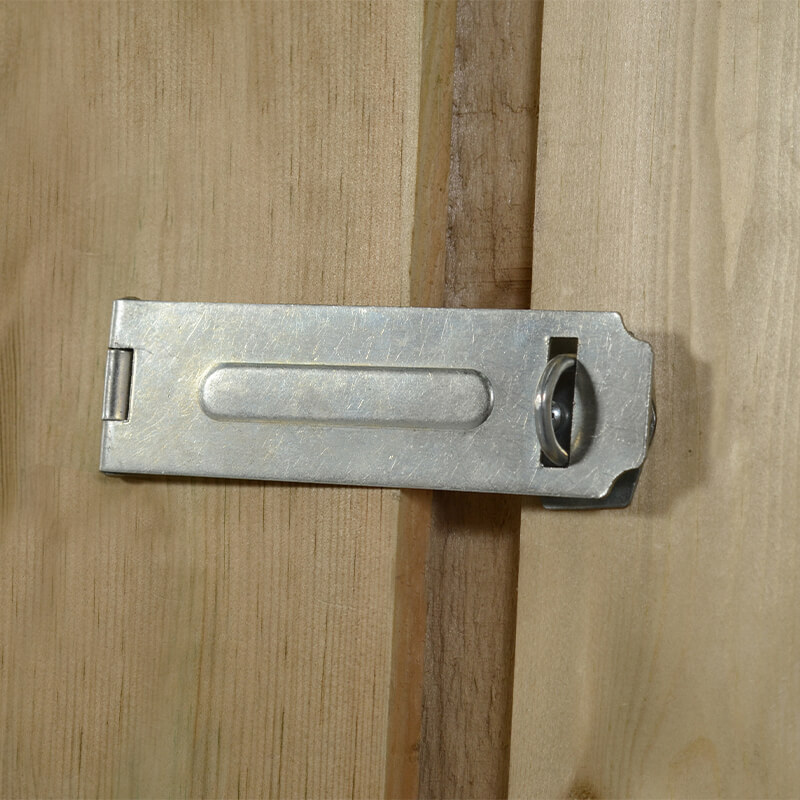

1) Anti-corrosion measures - apply rust-resistant coatings to metal parts
2) Chemical storage - store liquids in a waterproof cabinet
3) Door security - securely latch doors to resist wind-driven openings
4) Elevated storage - keep firewood and items off the ground
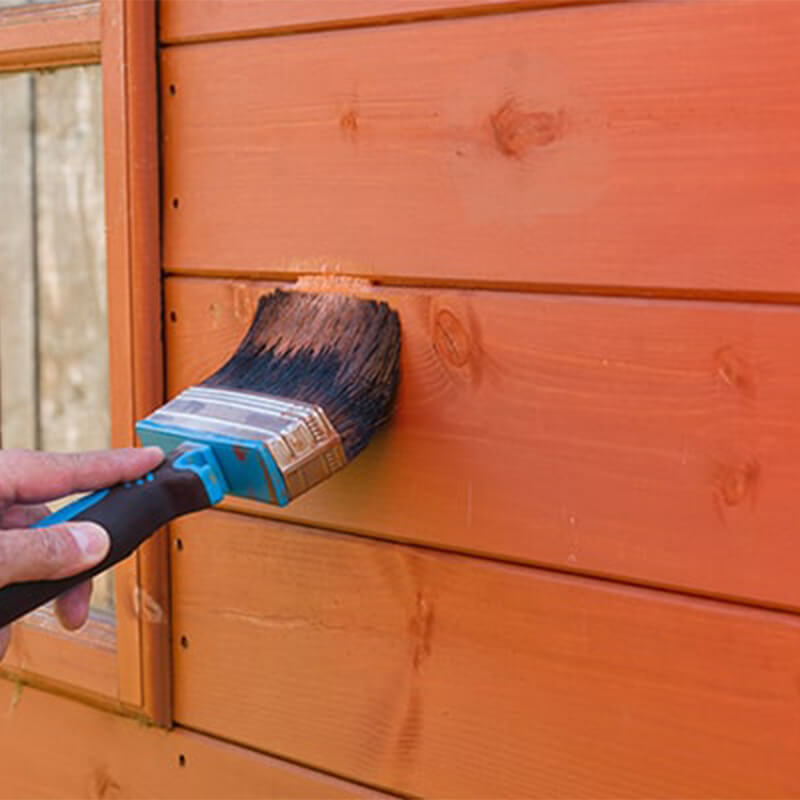

5) Exterior paint - apply a protective coat of exterior-grade paint
6) Foundation care - inspect the underfloor insulation and reinforce the shed's foundation
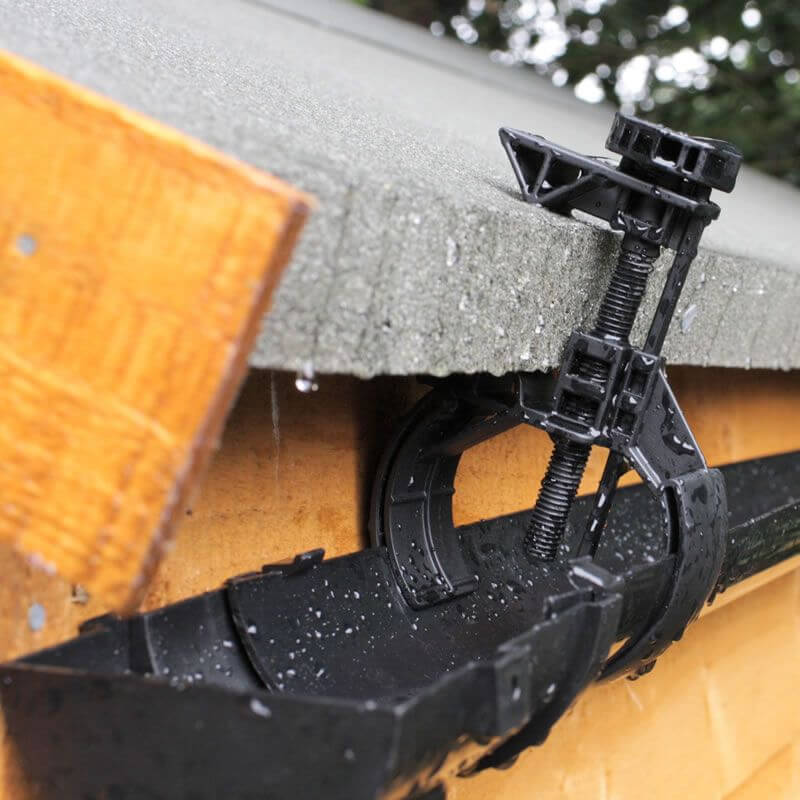
7) Gutter maintenance - regularly clean and inspect gutters and downspouts
8) Level ground - ensure the shed is placed on a level surface
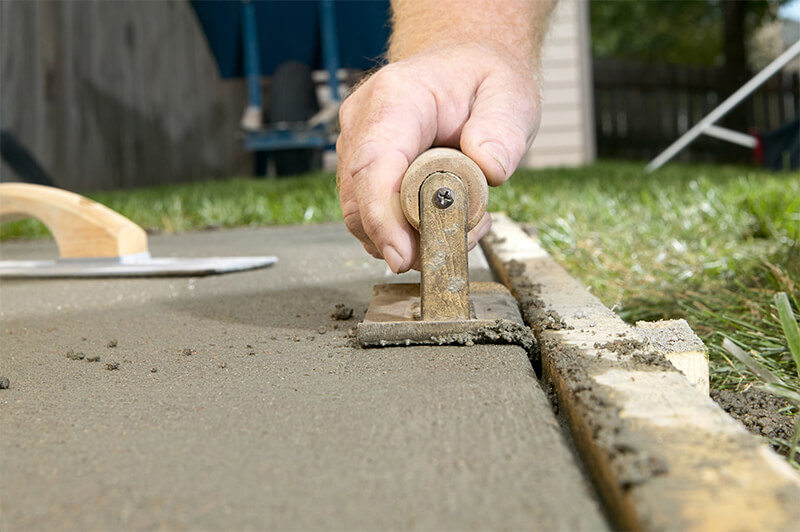

9) Maintain ventilation - ensure adequate airflow to prevent moisture build-up
10) Moisture absorption - place moisture-absorbing products and maybe plants inside
11) Pest prevention - implement measures to keep rodents and pests out
12) Pest-resistant materials - use critter-resistant insulation materials for repairs


13) Prevent water pooling - elevate your shed slightly to avoid water accumulation
14) Protect wooden surfaces - apply a waterproof sealant to shield against moisture
15) Redirect rainwater - install guttering and downspouts for proper drainage
16) Roof check - inspect and repair loose or damaged shingles before applying shed roof insulation
17) Secure doors and windows - seal gaps around openings using weatherstripping
18) Solid foundation - opt for a raised gravel or concrete base
19) Vegetation management - trim nearby plants to prevent damage
20) Windbreak installation - consider a barrier in exposed locations
Heaters for Sheds
If your main purpose for insulating your shed is to create a warmer working environment when carrying out DIY or potting up, a shed heater may be a great idea for you.
A portable gas cabinet heater quickly and efficiently heats the shed.
Be sure to follow any safety instructions from the manufacturer and never leave the heater unattended.
View our portable gas heaters here.


Other Shed Accessories
As well as optimising your shed with insulation, take a look at our range of shed accessories including these great ideas: solar shed lighting, shed shelves, and shed guttering.
Of course, if your shed has had its day and even insulation won't help. Take a look at our fantastic deals on a brand new shed, today!
Takeaways
In conclusion, the journey to effectively insulate and weatherproof your shed involves a series of thoughtful steps. From understanding how to insulate your shed and reasons to embracing sealing techniques and various insulation options, this guide equips you with the insights needed for a comfortable and energy-efficient shed space.
Whether you are addressing gaps, choosing the right insulation, or installing it with precision, the result will be a well-protected, well-used shed that suits your needs. Additionally, consider enhancing your shed with accessories like heaters, lighting, shelves, and guttering, ensuring your shed becomes a functional and cosy haven within your garden.
Contact Us
For advice about how to insulate a shed and insulation advice in general, contact the Shedstore team. Our expert team can advise on various aspects of insulating a garden shed as well as the best insulation to expect from any model in our shed range.
Seek product and technical support in these ways:
- Calls - call us at 0333 003 0518
- Email contact - start the conversation by completing our contact form
- Live Chat – text chat instantly through our app's live chat


